Installing Passenger Enterprise + Apache on a Digital Ocean production server
for Ruby apps + generic installation through RubyGems (with RVM)
On this page, we will install Passenger. After installing Passenger we can begin with deploying the app.
Table of contents
- Loading...
Installation
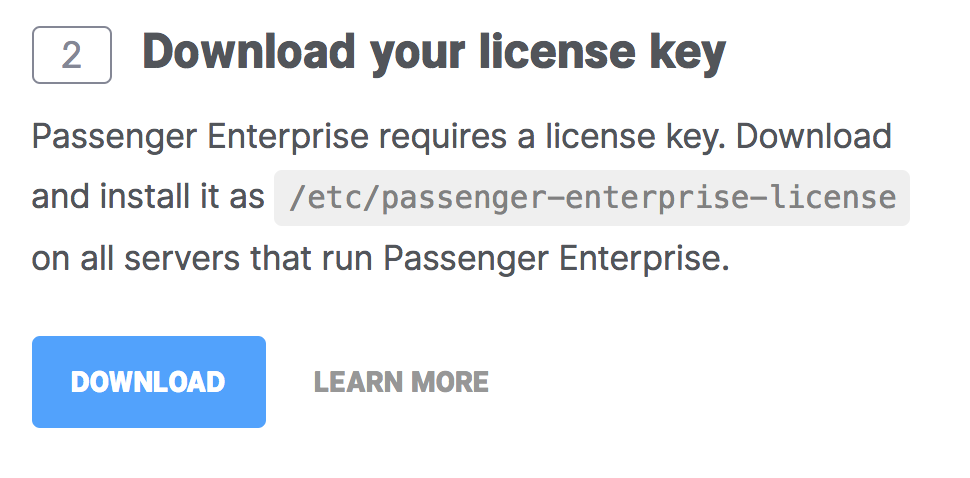
Step 1: download and install your license key
Before you can install Passenger Enterprise, you need to download and install your license key. This is a regular file that you need to copy to your production server.
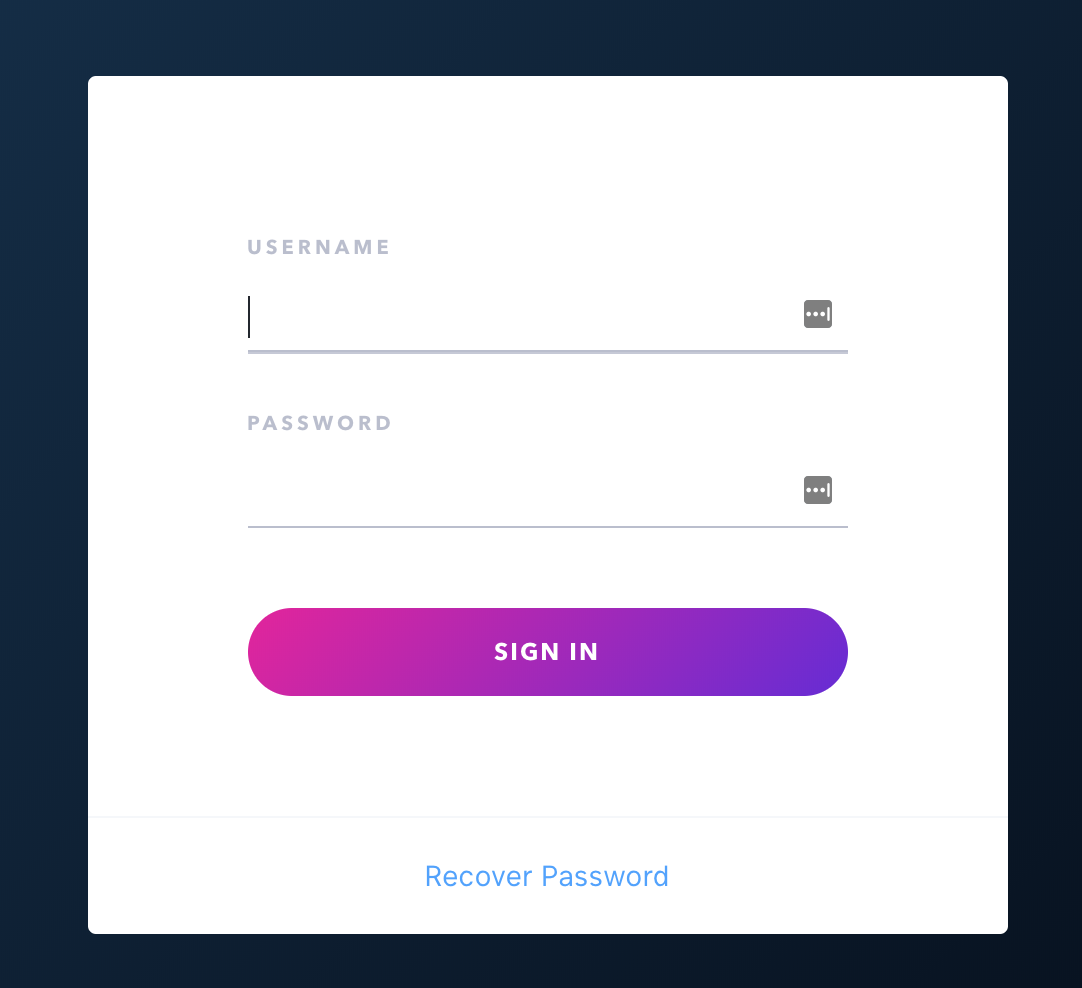
Please login to the Passenger Enterprise Customer Area.
Click on the Install button in the Customer Area.

Click on the button to download the license key.
The license key will be downloaded to your local computer. Copy this license key file to your production server, for example using scp:
local-computer$ cd /path-to-your-local-computer-download-folder
local-computer$ scp passenger-enterprise-license adminuser@yourserver.com:
Replace adminuser with the name of an account with administrator privileges or sudo privileges.
Finally, login to your production server and save the file as /etc/passenger-enterprise-license:
local-computer$ ssh adminuser@yourserver.com
production-server$ sudo mv passenger-enterprise-license /etc/passenger-enterprise-license
production-server$ chmod 644 /etc/passenger-enterprise-license
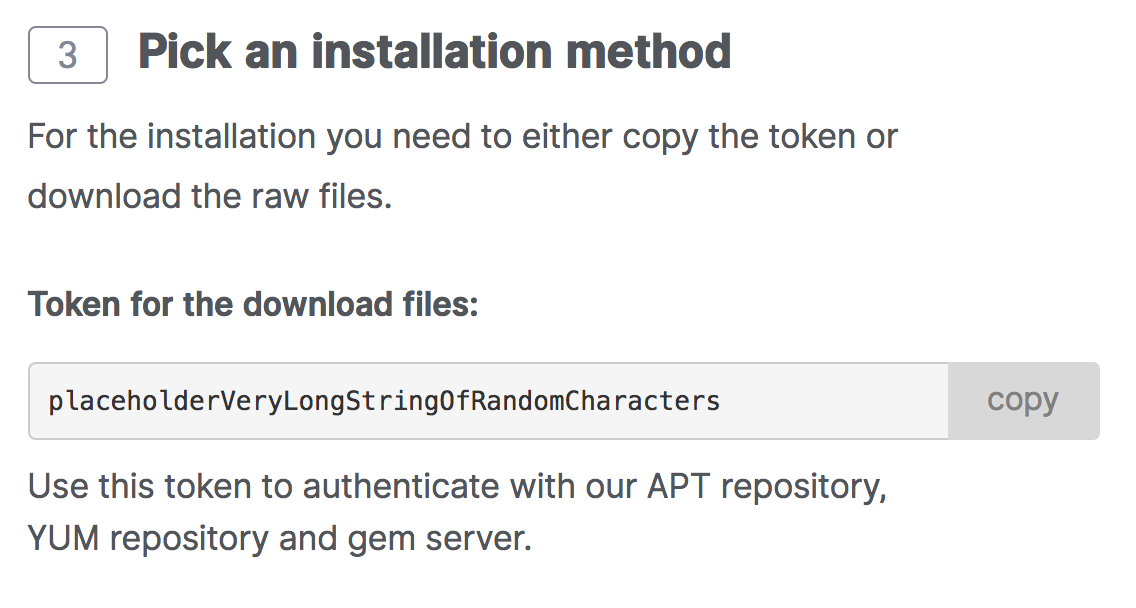
Step 2: obtain your download token
Your download token is needed in order to install Passenger Enterprise. In the Customer Area, find your download token and copy it to your clipboard.
Step 3: install gem
Add the Passenger Enterprise gem server to your RubyGems source list:
$ unset HISTFILE
$ gem source --add https://download:YOUR_DOWNLOAD_TOKEN@www.phusionpassenger.com/enterprise_gems/
Substitute YOUR_DOWNLOAD_TOKEN with the one you found in the Customer Area. And notice the trailing slash in the URL! It is very important.
Finally, install Passenger Enterprise gem with:
$ gem install passenger-enterprise-server --no-rdoc --no-ri
The --no-rdoc --no-ri argument isn't really necessary, but it makes installation faster by skipping generation of API documentation.
rvmsudo.
Since you are using RVM, don't use sudo! Always use rvmsudo instead when executing Ruby-related commands! Learn more about rvmsudo at the RVM website.
Step 4: run the Passenger Apache module installer
Run the Passenger Apache module installer and follow the on-screen instructions:
passenger-install-apache2-module
At the end of the installation process, you will be asked to copy and paste a configuration snippet (containing LoadModule, PassengerRoot, etc.) into your Apache configuration file.
Different operating systems and Apache installations have different conventions with regard to where the Apache configuration file is and how it is organized. Please read Working with the Apache configuration file if you are not familiar with it. That page is especially of interest for macOS Server >= 10.8 users because the configuration file may be at a surprising location.
Step 5: validate installation
After installation, please validate the install by running rvmsudo passenger-config validate-install. For example:
$ rvmsudo passenger-config validate-install
 * Checking whether this Phusion Passenger install is in PATH... ✓
 * Checking whether there are no other Phusion Passenger installations... ✓
All checks should pass. If any of the checks do not pass, please follow the suggestions on screen.
Finally, check whether Apache has started the Passenger core processes. Run rvmsudo passenger-memory-stats. You should see Apache processes as well as Passenger processes. For example:
$ rvmsudo passenger-memory-stats
Version: 5.0.8
Date   : 2015-05-28 08:46:20 +0200

---------- Apache processes ----------
PID    PPID   VMSize    Private  Name
--------------------------------------
3918   1      190.1 MB  0.1 MB   /usr/sbin/apache2
...

----- Passenger processes ------
PID    VMSize    Private   Name
--------------------------------
12517  83.2 MB   0.6 MB    Passenger watchdog
12520  266.0 MB  3.4 MB    Passenger core
12531  149.5 MB  1.4 MB    Passenger ust-router
...
If you do not see any Apache processes or Passenger processes, then you probably have some kind of installation problem or configuration problem. Please refer to the troubleshooting guide.
FAQ
I have multiple Ruby versions or gemsets. Does it matter which one I use to install Passenger with?
Not really. Passenger doesn't care which Ruby you used to install it; it can still serve Ruby apps with any Ruby version, as long as you tell Passenger which Ruby interpreter you want to use.
You tell Passenger which Ruby interpreter to use for a specific app, by using the PassengerRuby directive. This can be customized on a per-application basis.
Please also read How having multiple Ruby interpreters affects Passenger. In particular, read the RVM-related caveats.
Some of the dependent libraries are installed in non-standard locations. How do I allow the compiler to find them?
Please refer to Customizing the compilation process.
How do I pass additional flags to the compiler?
Please refer to Customizing the compilation process.
Next step
Now that you have installed Passenger, you are ready to deploy your Ruby application on the production server!