Installing Passenger Enterprise + Nginx
on Ubuntu 16.04 LTS (with APT)
Table of contents
- Loading...
Step 1: download and install your license key
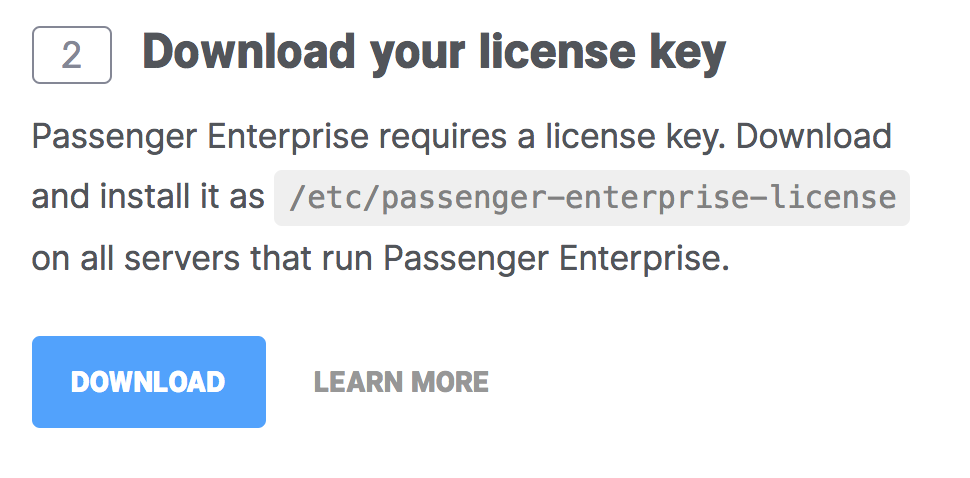
Before you can install Passenger Enterprise, you need to download and install your license key. This is a regular file that you need to copy to your production server.
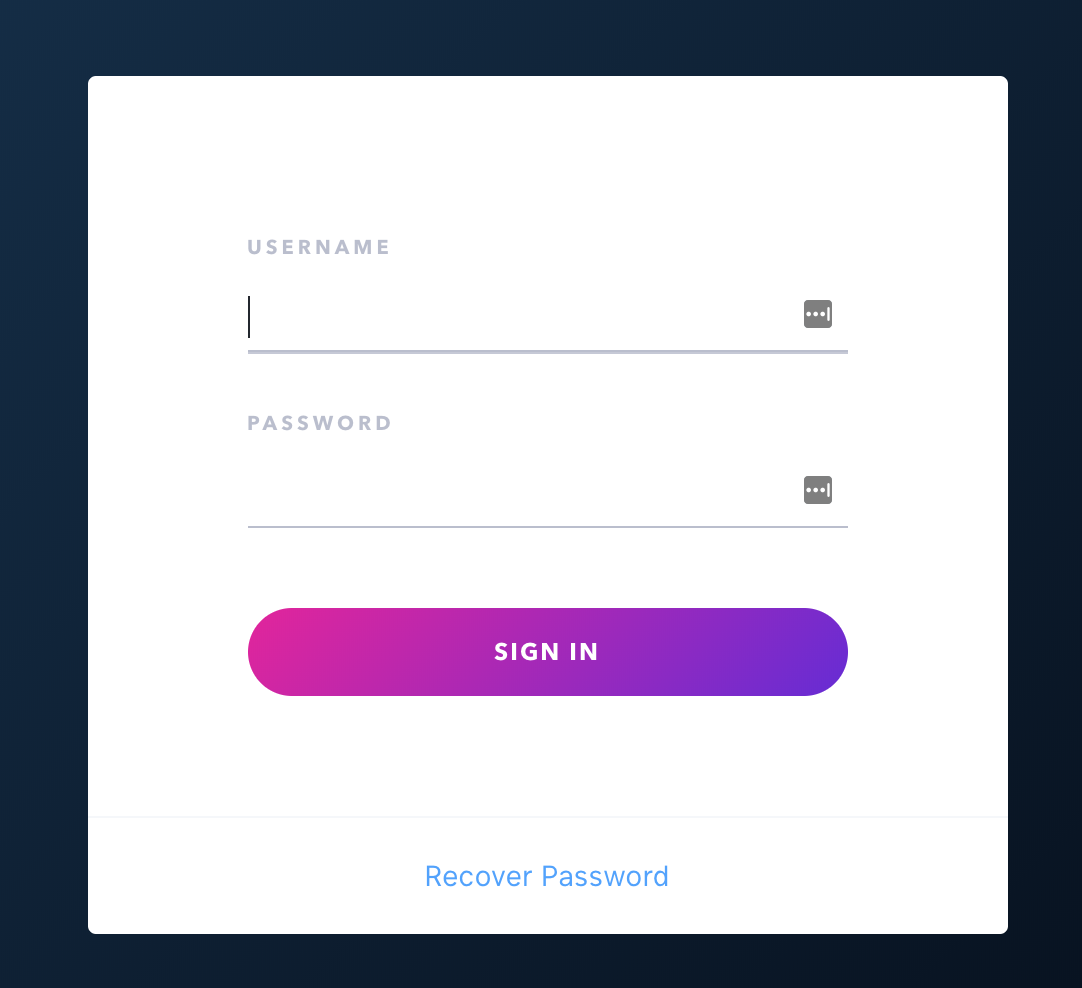
Please login to the Passenger Enterprise Customer Area.
Click on the Install button in the Customer Area.

Click on the button to download the license key.
The license key will be downloaded to your local computer. Copy this license key file to your production server, for example using scp:
local-computer$ cd /path-to-your-local-computer-download-folder
local-computer$ scp passenger-enterprise-license adminuser@yourserver.com:
Replace adminuser with the name of an account with administrator privileges or sudo privileges.
Finally, login to your production server and save the file as /etc/passenger-enterprise-license:
local-computer$ ssh adminuser@yourserver.com
production-server$ sudo mv passenger-enterprise-license /etc/passenger-enterprise-license
production-server$ chmod 644 /etc/passenger-enterprise-license
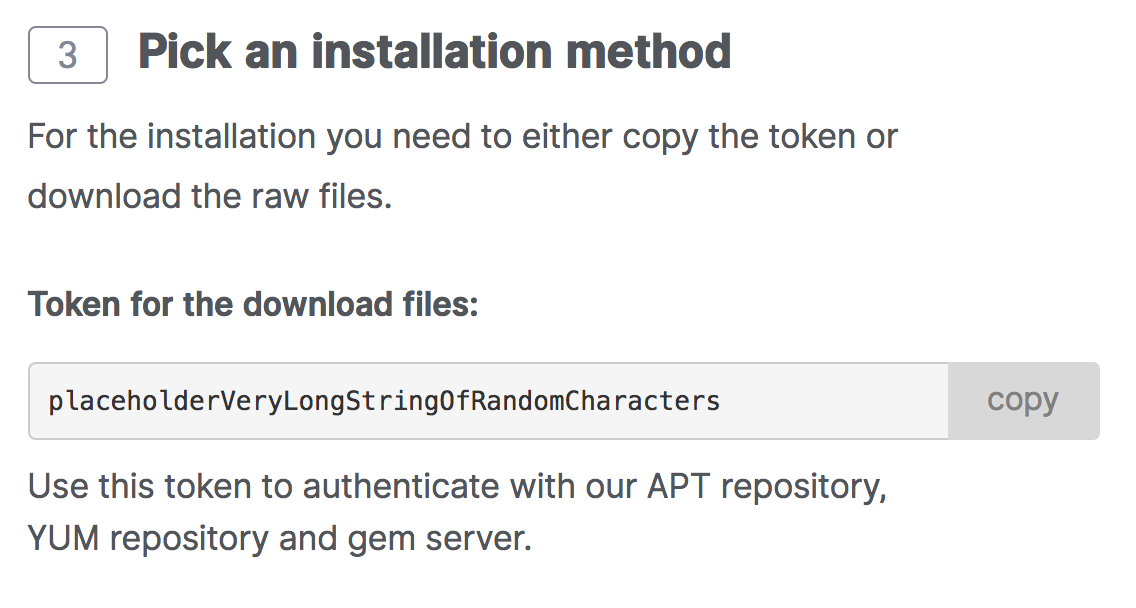
Step 2: obtain your download token
Your download token is needed in order to install Passenger Enterprise. In the Customer Area, find your download token and copy it to your clipboard.
Step 3: install Passenger packages
These commands will install Passenger Enterprise + Nginx through Phusion's APT repository.
If you already had Nginx installed, then these commands will upgrade Nginx to Phusion's version (with Passenger compiled in).
Replace YOUR_DOWNLOAD_TOKEN with the download token you obtained in the last step.
# Install our PGP key and add HTTPS support for APT
sudo apt-get install -y dirmngr gnupg
sudo apt-key adv --keyserver hkp://keyserver.ubuntu.com:80 --recv-keys 561F9B9CAC40B2F7
sudo apt-get install -y apt-transport-https ca-certificates

# Add our APT repository
unset HISTFILE
sudo sh -c 'echo machine www.phusionpassenger.com/enterprise_apt login download password YOUR_DOWNLOAD_TOKEN >> /etc/apt/auth.conf'
sudo sh -c 'echo deb https://www.phusionpassenger.com/enterprise_apt xenial main > /etc/apt/sources.list.d/passenger.list'
sudo chown root: /etc/apt/sources.list.d/passenger.list
sudo chmod 644 /etc/apt/sources.list.d/passenger.list
sudo chown root: /etc/apt/auth.conf
sudo chmod 600 /etc/apt/auth.conf
sudo apt-get update

# Install Passenger Enterprise + Nginx
sudo apt-get install -y nginx-extras passenger-enterprise
Step 4: enable the Passenger Nginx module and restart Nginx
Edit /etc/nginx/nginx.conf and uncomment include /etc/nginx/passenger.conf;. For example, you may see this:
# include /etc/nginx/passenger.conf;
Remove the '#' characters, like this:
include /etc/nginx/passenger.conf;
If you don't see a commented version of include /etc/nginx/passenger.conf; inside nginx.conf, then you need to insert it yourself. Insert it into /etc/nginx/nginx.conf inside the http block. For example:
...

http {
    include /etc/nginx/passenger.conf;
    ...
}
When you are finished with this step, restart Nginx:
$ sudo service nginx restart
Step 5: check installation
After installation, please validate the install by running sudo /usr/bin/passenger-config validate-install. For example:
$ sudo /usr/bin/passenger-config validate-install
 * Checking whether this Phusion Passenger install is in PATH... ✓
 * Checking whether there are no other Phusion Passenger installations... ✓
All checks should pass. If any of the checks do not pass, please follow the suggestions on screen.
Finally, check whether Nginx has started the Passenger core processes. Run sudo /usr/sbin/passenger-memory-stats. You should see Nginx processes as well as Passenger processes. For example:
$ sudo /usr/sbin/passenger-memory-stats
Version: 5.0.8
Date   : 2015-05-28 08:46:20 +0200
...

---------- Nginx processes ----------
PID    PPID   VMSize   Private  Name
-------------------------------------
12443  4814   60.8 MB  0.2 MB   nginx: master process /usr/sbin/nginx
12538  12443  64.9 MB  5.0 MB   nginx: worker process
### Processes: 3
### Total private dirty RSS: 5.56 MB

----- Passenger processes ------
PID    VMSize    Private   Name
--------------------------------
12517  83.2 MB   0.6 MB    PassengerAgent watchdog
12520  266.0 MB  3.4 MB    PassengerAgent server
12531  149.5 MB  1.4 MB    PassengerAgent logger
...
If you do not see any Nginx processes or Passenger processes, then you probably have some kind of installation problem or configuration problem. Please refer to the troubleshooting guide.
Step 6: update regularly
Nginx updates, Passenger updates and system updates are delivered through the APT package manager regularly. You should run the following command regularly to keep them up to date:
$ sudo apt-get update
$ sudo apt-get upgrade
You do not need to restart Nginx or Passenger after an update, and you also do not need to modify any configuration files after an update. That is all taken care of automatically for you by APT.